
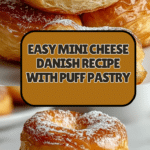
Delicious Mini Cheese Danish Recipe
Introduction
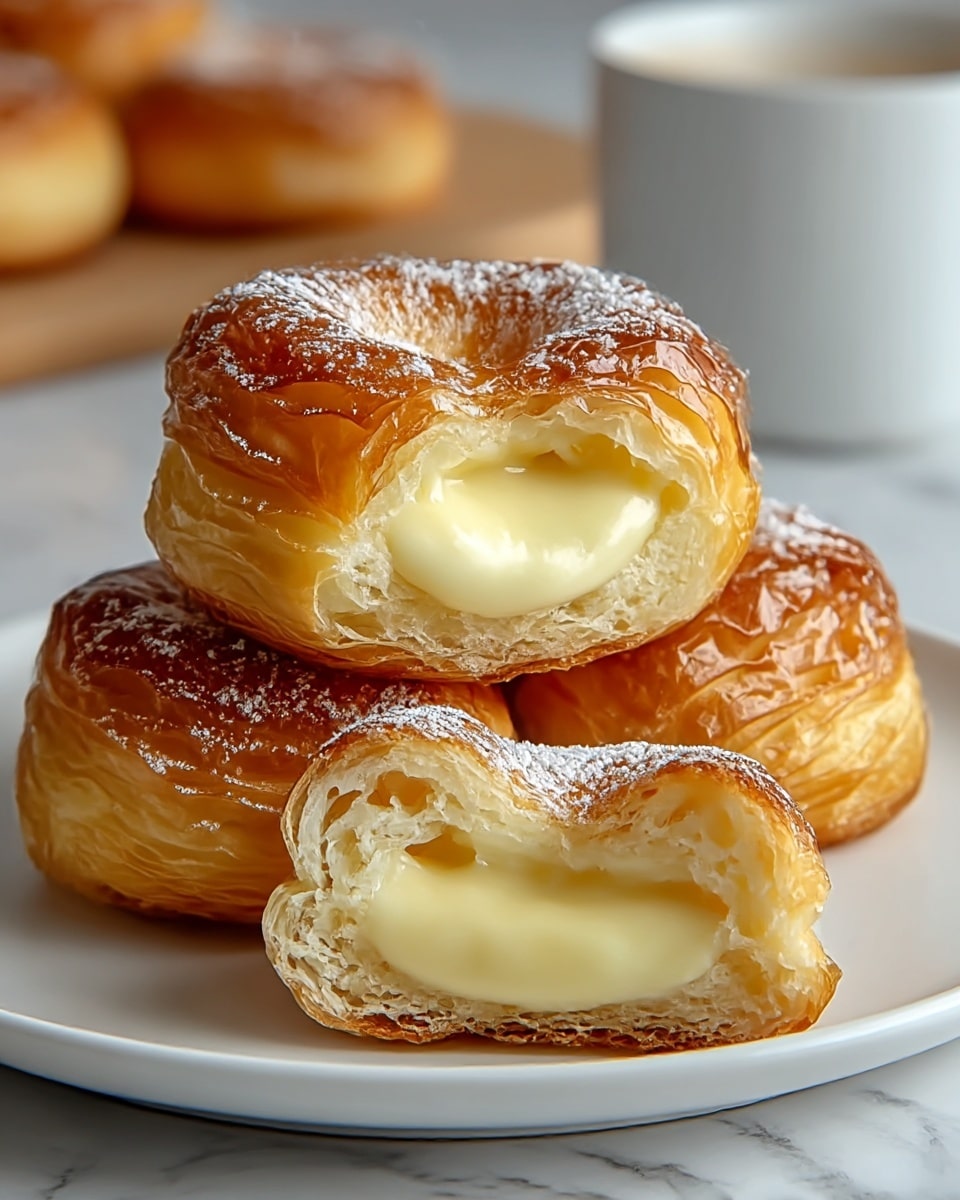
These delicious Mini Cheese Danish pastries are a perfect treat for breakfast or a sweet snack. Made with flaky puff pastry and a creamy cheese filling, they’re easy to prepare and sure to impress. Enjoy them warm with a drizzle of sweet glaze for a delightful bite.
Ingredients
- 1 package Puff Pastry (store-bought)
- 8 oz Cream Cheese (softened)
- 1/4 cup Granulated Sugar (can substitute with sugar alternative)
- 1 tsp Vanilla Extract (use pure extract for best flavor)
- 1 tbsp Lemon Juice (optional)
- 1 beaten Egg (can be replaced with milk)
- 1 cup Powdered Sugar (no direct replacement)
- 1 tbsp Milk (dairy-free options available)
Instructions
- Step 1: Preheat your oven to 400°F (200°C) and line a baking sheet with parchment paper.
- Step 2: Unfold the thawed puff pastry on a lightly floured surface and cut it into 3×3 inch squares.
- Step 3: In a mixing bowl, combine the softened cream cheese, granulated sugar, vanilla extract, and lemon juice. Mix until smooth.
- Step 4: Spoon about 1 tablespoon of the cream cheese mixture into the center of each pastry square.
- Step 5: Fold the corners of each square toward the center or leave them open-faced, depending on your preference.
- Step 6: Brush the edges of each pastry with the beaten egg for a shiny finish.
- Step 7: Place the pastries on the lined baking sheet and bake for 15-18 minutes until golden brown.
- Step 8: Let the Mini Cheese Danish cool slightly on a wire rack.
- Step 9: Prepare the glaze by whisking together powdered sugar and milk until smooth, then drizzle over the danish.
- Step 10: Serve warm for the ultimate treat alongside your favorite coffee or tea.
Tips & Variations
- For a fruit twist, add a small spoonful of jam or fresh berries on top of the cream cheese before baking.
- Use dairy-free cream cheese and milk to make these pastries vegan-friendly.
- Brush with milk instead of egg for a less glossy but still beautiful finish.
Storage
Store leftover Mini Cheese Danish in an airtight container at room temperature for up to 2 days. For longer storage, refrigerate for up to 5 days. Reheat gently in a warm oven at 300°F (150°C) for 5-7 minutes to refresh the crispiness before serving.
How to Serve

Serve this delicious recipe with your favorite sides.
FAQs
Can I freeze Mini Cheese Danish pastries?
Yes, you can freeze the baked danish in an airtight container for up to 2 months. Thaw at room temperature and reheat in the oven to restore flakiness.
What can I use instead of lemon juice in the filling?
If you don’t have lemon juice, you can omit it or substitute with a small amount of orange juice for a milder citrus note.
Print
Delicious Mini Cheese Danish Recipe
- Total Time: 33 minutes
- Yield: 12 mini danishes 1x
- Diet: Vegetarian
Description
These Delicious Mini Cheese Danishes are flaky, golden puff pastry squares filled with a creamy sweetened cream cheese mixture, finished with a smooth powdered sugar glaze. Perfectly portioned for breakfast, brunch, or a delightful dessert to enjoy alongside your favorite coffee or tea.
Ingredients
Pastry
- 1 package Puff Pastry (store-bought, thawed)
Filling
- 8 oz Cream Cheese (softened)
- 1/4 cup Granulated Sugar (can substitute with sugar alternative)
- 1 tsp Vanilla Extract (use pure extract for best flavor)
- 1 tbsp Lemon Juice (optional)
Egg Wash
- 1 beaten Egg (can be replaced with milk)
Glaze
- 1 cup Powdered Sugar (no direct replacement)
- 1 tbsp Milk (dairy-free options available)
Instructions
- Preheat Oven: Preheat your oven to 400°F (200°C) and line a baking sheet with parchment paper to prevent sticking and ensure even baking.
- Prepare Pastry Squares: Unfold the thawed puff pastry on a lightly floured surface and cut it into 3×3 inch squares for uniform mini danishes.
- Make Cream Cheese Filling: In a mixing bowl, combine the softened cream cheese, granulated sugar, vanilla extract, and lemon juice. Mix until the filling is smooth and creamy without lumps.
- Fill Pastries: Spoon about 1 tablespoon of the cream cheese mixture into the center of each puff pastry square, being careful not to overfill to prevent leaking during baking.
- Shape Danishes: Fold the corners of each pastry square towards the center to create a pinwheel shape, or leave them open-faced for a traditional look.
- Apply Egg Wash: Brush the edges of each pastry with the beaten egg or milk to achieve a shiny, golden-brown finish when baked.
- Bake: Place the prepared pastries on the lined baking sheet and bake in the preheated oven for 15-18 minutes or until the puff pastry is puffed and golden brown.
- Cool: Remove the danishes from the oven and allow them to cool slightly on a wire rack to set before glazing.
- Prepare Glaze: In a small bowl, whisk together the powdered sugar and milk until smooth and pourable.
- Glaze and Serve: Drizzle the glaze over the warm danishes and serve immediately for the best flavor and texture experience.
Notes
- For a dairy-free option, substitute cream cheese and milk with plant-based alternatives.
- If you prefer a less sweet filling, reduce the amount of granulated sugar in the cream cheese mixture.
- The lemon juice enhances flavor but can be omitted if desired.
- You can customize the filling by adding fruit preserves or fresh fruit on top before baking.
- Ensure puff pastry is fully thawed for easier handling and better texture.
- Prep Time: 15 minutes
- Cook Time: 18 minutes
- Category: Dessert
- Method: Baking
- Cuisine: American
Keywords: mini cheese danish, puff pastry dessert, cream cheese danish, easy dessert, breakfast pastry


