
Fluffy Japanese Cotton Cheesecake Cupcakes to Wow Your Guests Recipe
Introduction
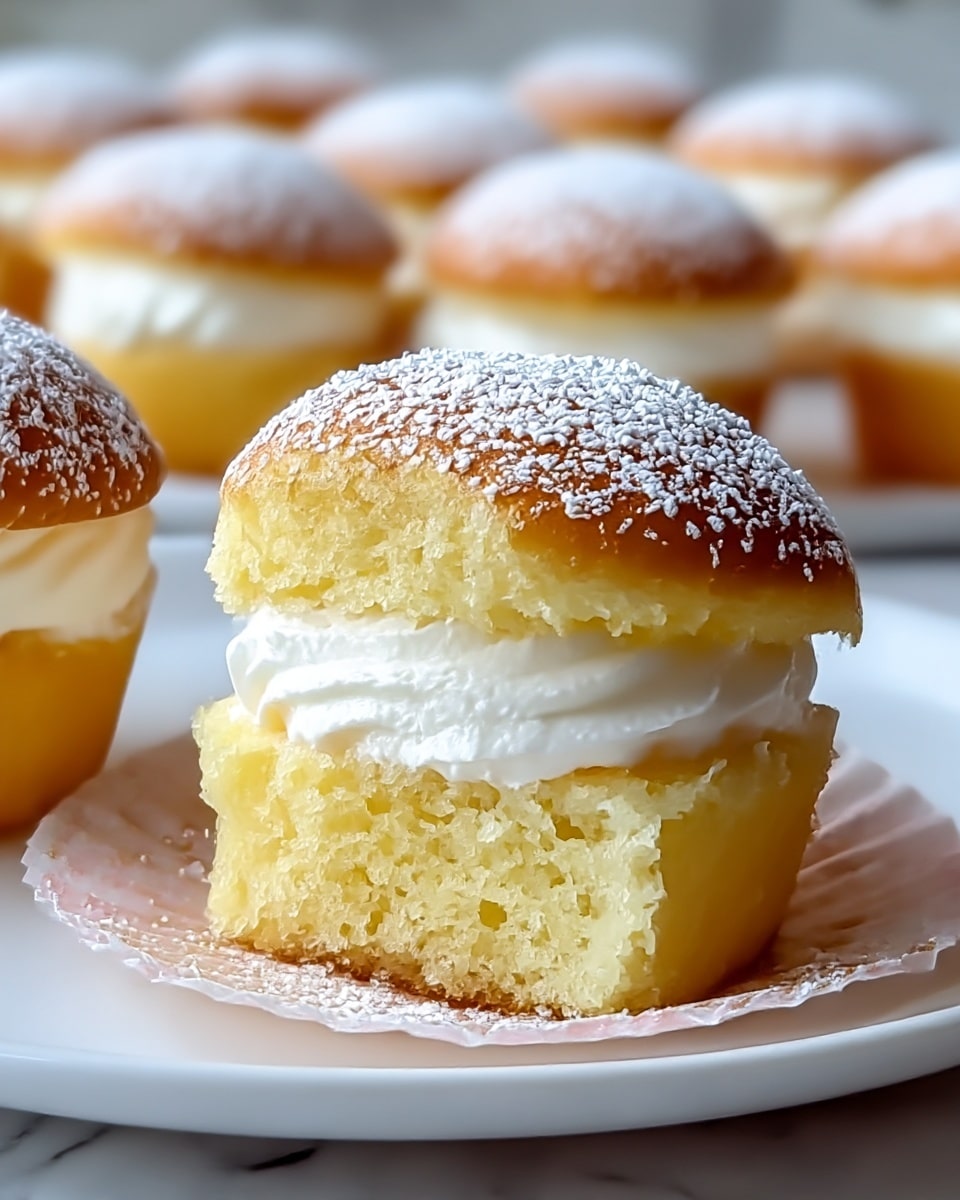
These Fluffy Japanese Cotton Cheesecake Cupcakes offer a delicate, airy texture that is sure to impress your guests. Light and subtly sweet, they bring a melt-in-your-mouth experience that’s perfect for any occasion.
Ingredients
- 8 oz Cream Cheese (Use dairy-free cream cheese for a dairy-free option.)
- 1 cup Sugar
- 1/2 cup Milk (Almond milk can be used for a dairy-free option.)
- 1/4 cup Unsalted Butter
- 6 large Egg Yolks
- 6 large Egg Whites (Whipped to soft peaks.)
- 3/4 cup All-Purpose Flour (Use gluten-free flour for a gluten-free version.)
- 1/4 teaspoon Salt
- 1/4 cup Cocoa Powder (For a chocolate twist.)
- 1 cup Mashed Bananas or Applesauce (For added moisture.)
- 1/2 cup Chopped Nuts
- 1/4 teaspoon Cayenne Pepper (For a surprising kick.)
Instructions
- Step 1: Preheat your oven to 320°F (160°C) and line a muffin tin with cupcake liners.
- Step 2: In a large bowl, combine the cream cheese, sugar, milk, and unsalted butter. Beat until the mixture is smooth and creamy, about 3–4 minutes.
- Step 3: Add egg yolks one at a time, mixing well for 2–3 minutes after each addition to ensure a smooth batter.
- Step 4: In a separate bowl, whip the egg whites to soft peaks, taking care not to overbeat.
- Step 5: Gently fold the whipped egg whites into the cream cheese mixture in three additions, maintaining as much air as possible.
- Step 6: Gradually sift in the all-purpose flour, salt, and cocoa powder (if using), stirring until just combined to avoid deflating the batter.
- Step 7: Fold in the mashed bananas or applesauce, chopped nuts, and cayenne pepper, distributing them evenly throughout the batter.
- Step 8: Pour the batter into the prepared cupcake liners, filling each about two-thirds full.
- Step 9: Bake for 20–25 minutes until cupcakes turn lightly golden and a toothpick inserted comes out clean.
- Step 10: Let the cupcakes cool in the tin for 10 minutes before transferring them to a wire rack to cool completely.
Tips & Variations
- For a dairy-free version, substitute cream cheese and milk with plant-based alternatives, and use gluten-free flour if needed.
- Add a teaspoon of vanilla extract to enhance the flavor profile.
- Try mixing in fresh berries instead of mashed bananas for a fruity twist.
- To achieve extra fluffiness, gently fold the egg whites carefully to retain air bubbles.
- If you prefer less spice, omit the cayenne pepper or reduce the amount.
Storage
Store the cupcakes in an airtight container in the refrigerator for up to 3 days. For longer storage, freeze them wrapped tightly in plastic wrap and placed in a freezer-safe container for up to 1 month. Thaw in the refrigerator before serving, and warm slightly in the microwave for a few seconds if desired.
How to Serve

Serve this delicious recipe with your favorite sides.
FAQs
Can I make these cupcakes ahead of time?
Yes, you can prepare and bake the cupcakes a day in advance. Keep them refrigerated in an airtight container to maintain freshness.
What if I don’t have a mixer to whip egg whites?
You can whisk egg whites by hand using a balloon whisk, but it will take more time and effort. Ensure your bowl and whisk are clean and dry to help the whites whip properly.
Print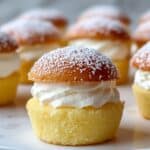
Fluffy Japanese Cotton Cheesecake Cupcakes to Wow Your Guests Recipe
- Total Time: 45 minutes
- Yield: 12 cupcakes 1x
Description
These Fluffy Japanese Cotton Cheesecake Cupcakes are light, airy, and perfect for impressing your guests. Combining the delicate texture of a Japanese cotton cheesecake with the convenience of cupcakes, this recipe offers a delightful balance of creamy sweetness and subtle tang, with optional twists like cocoa, bananas, or a hint of cayenne for those who want to try something unique.
Ingredients
Main Ingredients
- 8 oz Cream Cheese (Use dairy-free cream cheese for a dairy-free option.)
- 1 cup Sugar
- 1/2 cup Milk (Almond milk can be used for a dairy-free option.)
- 1/4 cup Unsalted Butter
- 6 large Egg Yolks
- 6 large Egg Whites (Whipped to soft peaks.)
- 3/4 cup All-Purpose Flour (Use gluten-free flour for a gluten-free version.)
- 1/4 teaspoon Salt
Optional Flavor Additions
- 1/4 cup Cocoa Powder (For a chocolate twist.)
- 1 cup Mashed Bananas or Applesauce (For added moisture.)
- 1/2 cup Chopped Nuts
- 1/4 teaspoon Cayenne Pepper (For a surprising kick.)
Instructions
- Preheat Oven: Preheat your oven to 320°F (160°C) and line a muffin tin with cupcake liners to prepare for baking.
- Create Cream Cheese Mixture: In a large bowl, combine the cream cheese, sugar, milk, and unsalted butter. Beat the mixture using a mixer until it becomes smooth and creamy, about 3-4 minutes.
- Add Egg Yolks: Incorporate the egg yolks into the cream cheese mixture one at a time, mixing well after each addition for approximately 2-3 minutes to ensure even blending.
- Whip Egg Whites: In a separate clean bowl, whip the egg whites until they form soft peaks, which will help give the cupcakes their fluffy texture.
- Fold Egg Whites: Gently fold the whipped egg whites into the cream cheese mixture in three additions, being careful not to deflate the mixture to maintain airiness.
- Add Dry Ingredients: Gradually sift the all-purpose flour and salt into the batter, folding gently until just combined to avoid overmixing and maintain the light texture.
- Add Optional Ingredients: If desired, incorporate cocoa powder, mashed bananas or applesauce, chopped nuts, and cayenne pepper to add flavor twists and moisture. Fold these in gently.
- Fill Muffin Liners: Pour the batter into the prepared cupcake liners, filling each about two-thirds full to allow room for rising.
- Bake: Bake in the preheated oven for 20-25 minutes until the cupcakes are lightly golden and a toothpick inserted in the center comes out clean.
- Cool: Let the cupcakes cool in the tin for 10 minutes before transferring them to a wire rack to cool completely, ensuring they set perfectly.
Notes
- For a dairy-free option, use dairy-free cream cheese and almond milk.
- Substitute all-purpose flour with gluten-free flour for a gluten-free version.
- Adding mashed bananas or applesauce increases moisture and adds natural sweetness.
- Cayenne pepper adds a mild heat that pairs surprisingly well with the creamy cheesecake flavor.
- Be gentle when folding egg whites to keep the batter light and fluffy.
- Ensure the egg whites are whipped to soft peaks for optimal texture.
- Use room temperature ingredients for better mixing and smoother batter.
- Prep Time: 20 minutes
- Cook Time: 25 minutes
- Category: Dessert
- Method: Baking
- Cuisine: Japanese
Keywords: Japanese cheesecake cupcakes, fluffy cupcakes, cotton cheesecake, dessert cupcakes, light cheesecake dessert, unique cupcake recipe

